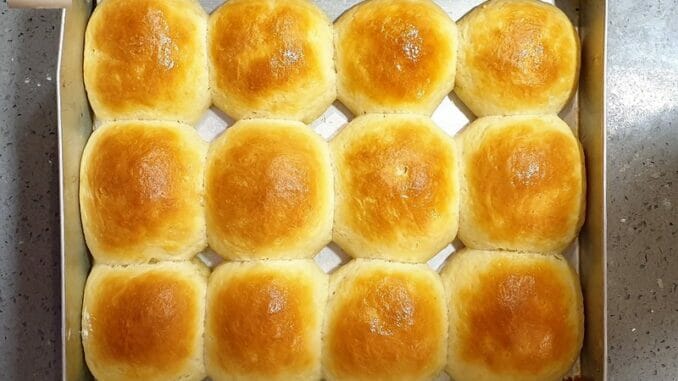
Would you believe that you could make pao without kneading? That’s just what we have done here – a No Knead Pao. This recipe for pao uses milk and butter unlike the regular pao (refer here) and a little bit of corn flour to hold it together. There is little effort involved and you do not need to flex your arm muscles. Even while forming the balls after the 2nd proofing, you need to be gentle, almost like handling a baby, using as little effort as possible. What do you know! You’ll still not believe me until you try making these effortless paos.
Yield: 12 Paos
Baking Time: 20 to 25 Mins.
Ingredients:
- Maida [APF] – 500 gms + for dusting / shaping
- Corn Flour – 3 tbsp.
- Milk – 250 ml
- Butter – 6 tbsp.
- Instant Yeast – 2 tsp.
- Sugar – 4 tsp.
- Oil – for greasing
- Salt – 1 tsp.
Step 1: Mix 200 ml water in the milk and warm it till luke warm. You will now have 450 ml of watered milk. Then take 200 ml of this watered milk in a bowl and dissolve the sugar. Sprinkle the yeast and leave aside covered for it to bloom / for the yeast to activate and become frothy.
Step 2: In a mixing bowl, take the maida and add the cornflour and salt and mix with the backside of a wooden spoon.
Step 3: To the remaining 250 ml watered milk, add the butter and stir till all mixed.
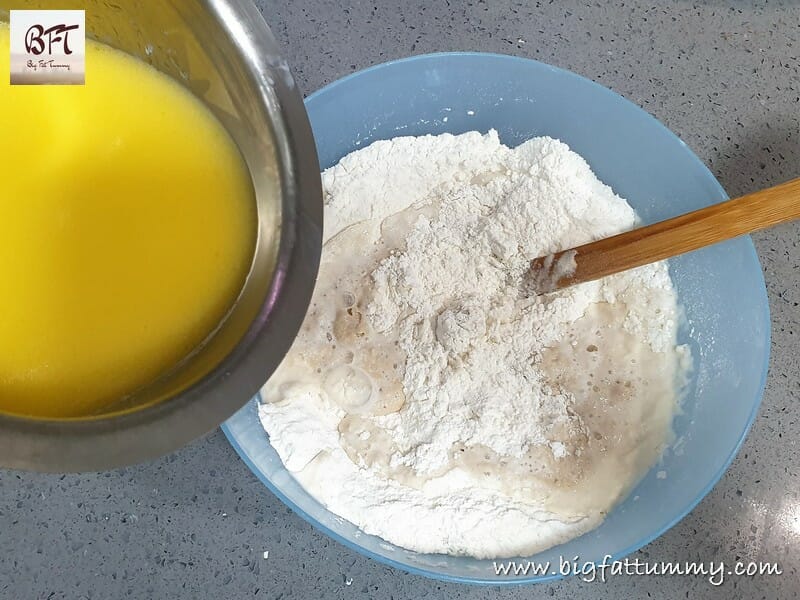
Step 4: Pour the yeast mixture and the butter and milk mixture into the mixing bowl with the flours and mix with the backside of a wooden spoon till combined (do not overmix). The dough will be very sticky. Smear some dry flour on your palms and lift the dough and transfer to a large vessel / bowl pre-greased with a little oil. Cover with cling film and leave aside to rise for 1 ½ to two hours (1st proofing) till the dough doubles in size.
Step 5: After the first proofing, clean a kitchen surface area or a table and place some flour on one corner of the platform. Also keep a dough cutter ready. Grease a baking tray (12 x 10 inch) with oil and keep ready (or use parchment paper). You also need a tray with high edges or else the pao will flatten out whilst baking.
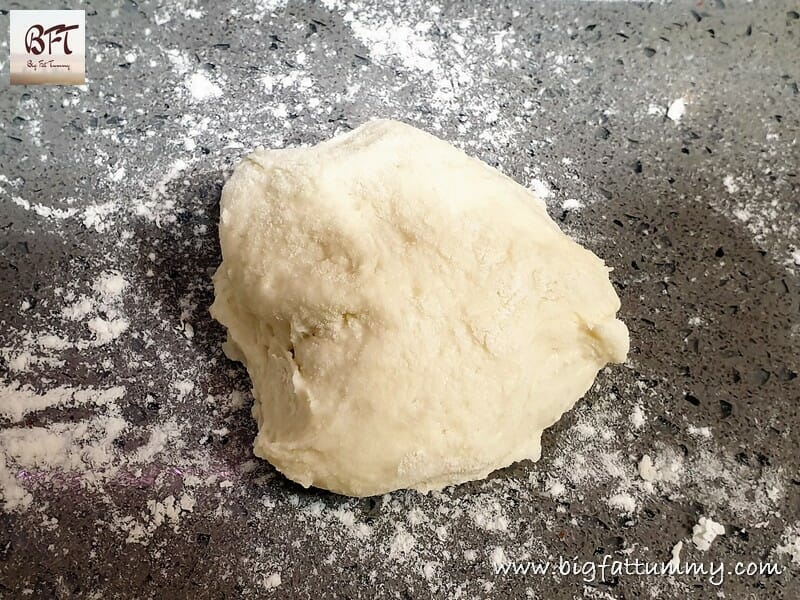
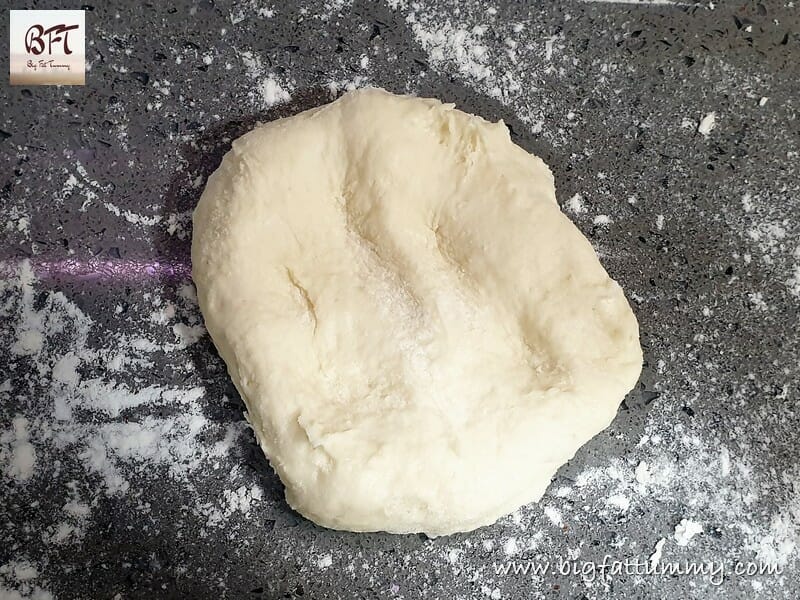
Step 6: Sprinkle some flour lightly on the risen dough and punch the dough with your knuckles. Then dust your palms with some more dry flour and transfer the dough using both your palms onto the platform.
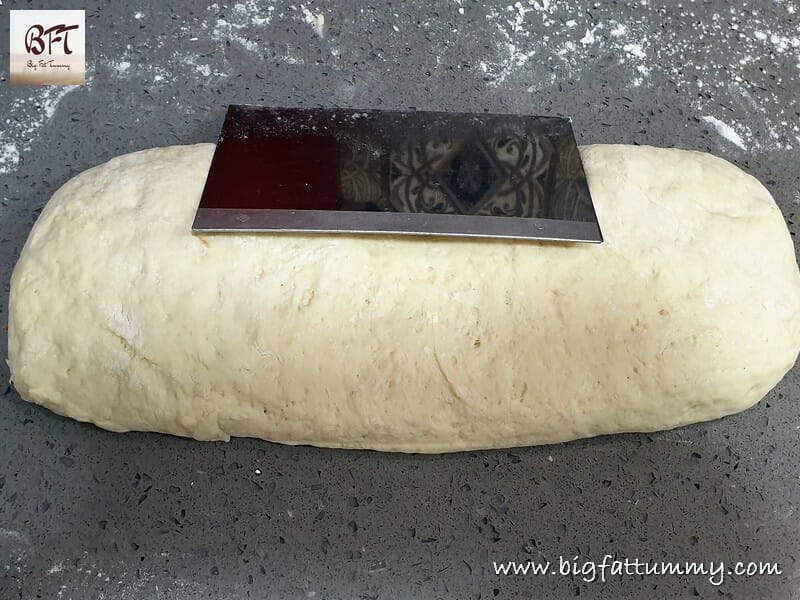
Step 7: Do not knead any more. Just shape into a rectangular shape (see pics) and use the dough cutter to cut into 12 portions.
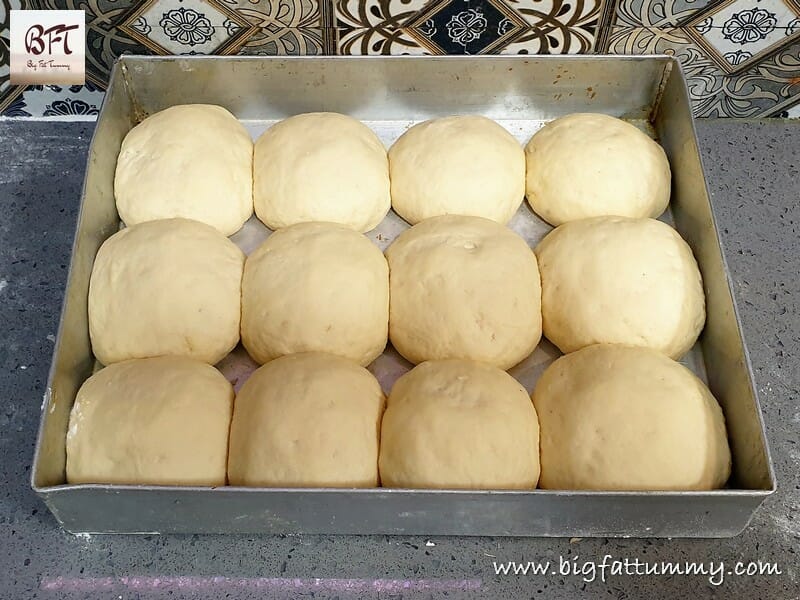
Step 8: Then take each portion and place on a dusted surface. Flatten it and bring the edges towards the center. Dust your palms again and lift it and place on one palm with the gathered portion upside down. Roll it in very gently using your thumb and two fingers of the other hand till it forms a smooth ball (using very little pressure is important). Then place on the baking tray. Do this for the remaining balls and place on the tray ½ to ¾ inch apart. Leave aside for 45 minutes for the second proofing.
Step 9: Set you oven to Pre-heat at 220° C for at least 20 to 25 minutes (important).
Step 10: Place your baking tray into the oven and bake at 220° C for 20 to 25 minutes.
Step 11: Remove from the oven and transfer to a clean cloth or wire rack and let the bread cool. You can brush the tops with butter after removing from the oven.







Leave a Reply